What Is Caviar Bead Printing? The Sprinkle Method and Combining It with Other Techniques
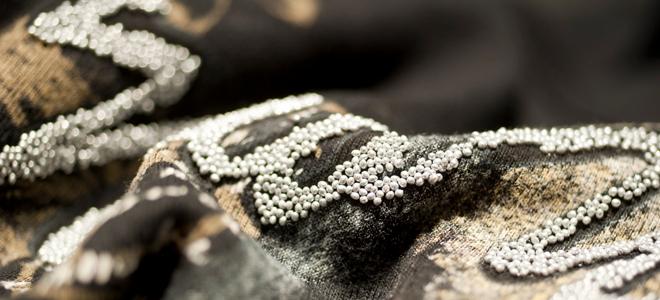
Sometimes a flat print just isn't enough — what you want isn't just color or shine, but real texture and dimension you can actually feel under your fingers. That's exactly where caviar bead printing comes in. Especially popular in womenswear and evening gown fabrics, this technique gives the fabric surface a three-dimensional, granular look — reflecting light in a way an ordinary print never could, with a richness you can feel by touch.
In this article, we explain how caviar bead printing is applied, what fixing conditions to follow, and how it can be combined with other decorative techniques like glitter or foil.
What Is Caviar Bead Printing?
Caviar bead printing is a textured print created by first applying an adhesive paste to the fabric in a specific pattern, then sprinkling small beads (caviar) onto that adhesive. The molds used are the same ones used in standard flat printing — meaning you can apply this technique without any extra investment in your existing print line.
How Is the Sprinkle Method Applied?
The most common application method is the sprinkle technique. Roughly, the process works like this:
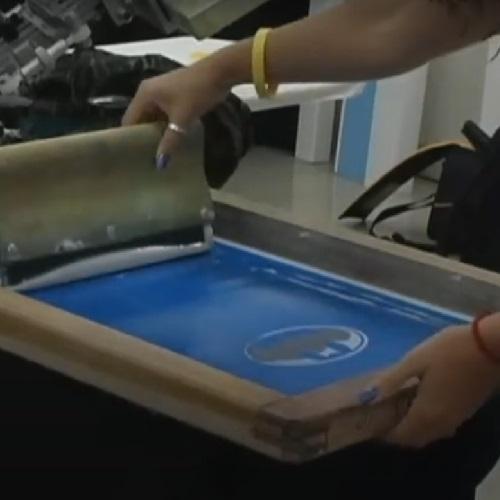
Adhesive application
Using a mold, the desired pattern is transferred onto the fabric as adhesive. The pattern should be at final beads printed view. Can be fit with glitter or foil pattern.
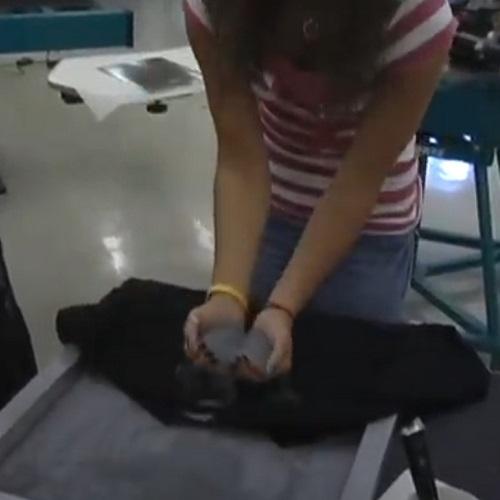
Sprinkling the beads
The fabric is lifted from the end where the beads are poured and moved toward the area printed with adhesive. As it moves, the beads bond to the adhesive-coated surface.
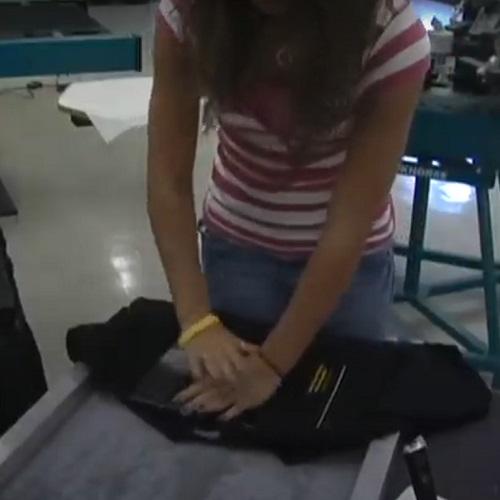
Pressing beads into adhesive
Once the beads have bonded to the front side, the beads is pressed into adhesive for well bonding. This is a small but effective step that shouldn't be skipped.
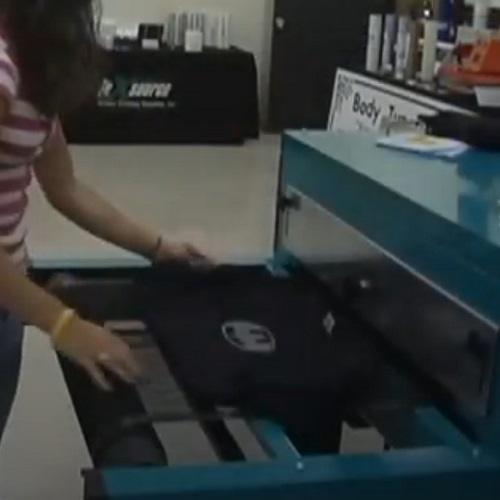
Fixing
Fixing — Fixing ensures the beads bond permanently to the fabric and don't shed during washing or rubbing. General reference: 160–180°C, for 2–3 minutes, passed through the fixing machine twice (2 passes).
Some sources also suggest an alternative of 160–200°C at 4 atm pressure for 10 seconds, depending on fabric type — this likely corresponds to a different equipment/transfer method. As a general principle, we recommend testing a small sample to determine exactly which temperature/time combination is ideal for your fabric and equipment — as we've emphasized in our foil and glitter printing articles as well, these parameters can vary slightly from one facility to another.
Combining with Other Techniques
One of caviar bead printing's biggest strengths is that it doesn't have to stand alone — it works well combined with other decorative techniques.
Combining with Glitter
The three-dimensional texture caviar brings, paired with the flat but intense sparkle of glitter, creates a visual depth that neither technique can achieve on its own. The key thing to watch for in this combination is respecting each material's own fixing conditions (glitter's temperature/time varies by adhesive type; caviar needs 160–180°C for 2–3 minutes) — this combination is typically applied to separate areas of the design, or in a layered sequence.
Combining with Foil
There are also examples of foil applied on top of caviar bead printing — a nice illustration of how different textile printing techniques can be layered together. A similar logic appears in foil-and-flock combinations, which can be done in either order: one technique is fixed and fully set first, then the second technique is applied to a separate or adjacent area.
The same general logic applies to combining caviar and foil: the caviar pattern is typically fixed and set first, after which foil adhesive is applied to separate areas for foil transfer. In these multi-layer applications, the most critical point is that the first layer is set firmly enough to withstand the second pressing/heat process — otherwise, the second print step can damage the first layer. For this reason, we especially recommend running a small test print for combination designs.
Durability Checklist
- The adhesive pattern must be transferred cleanly and with sufficient density through the mold
- Once the beads bond to the front, always press from the back of the fabric
- Fixing: 160–180°C, 2–3 minutes, 2 passes
- In combination designs, don't move to the second technique until the first layer is fully set
- Always test a small sample first when working with a new equipment/fabric combination
UES'te Havyar Boncuk
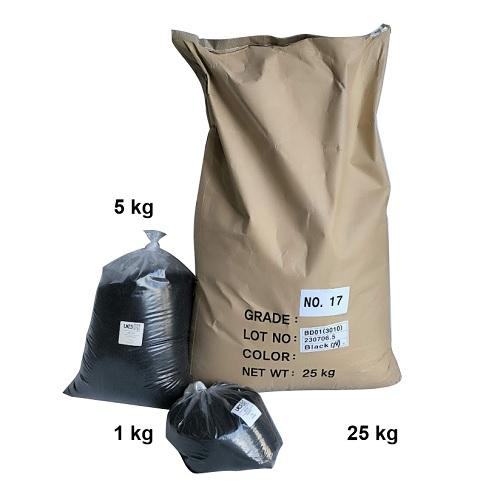
Alongside our glitter range, we also offer caviar beads — a material especially popular in leather and accessory products for adding noticeable texture to a surface. We can supply it in the colors and sizes that fit your needs.
If you're considering combining caviar bead printing with glitter or foil, we're happy to help you work out the right sequence and adhesive choice reach out via our Contact page .