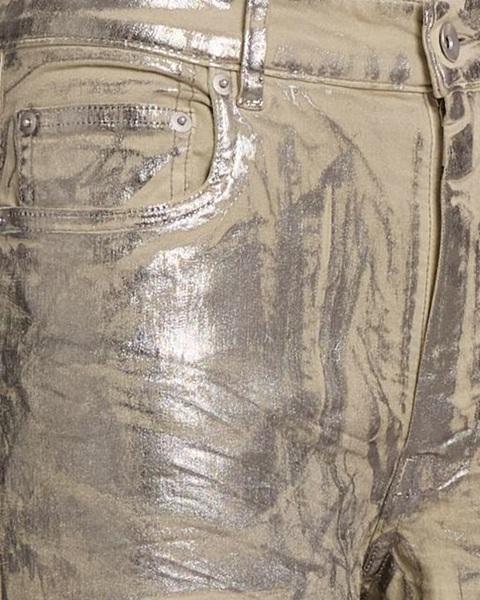
When people think of hot stamping foil, they usually picture a smooth surface, a specific die, and a clean pattern that lines up perfectly. But sometimes that's not what you're after — maybe you want a handmade, slightly "imperfect" and distinctive look, or maybe you're working with a surface that a standard die simply can't stamp. That's exactly where spray or airbrush foil application comes in.
In this article, we cover when this technique is the right choice, how to apply it step by step, and how to avoid the most common mistakes.
When Is This Technique Used?
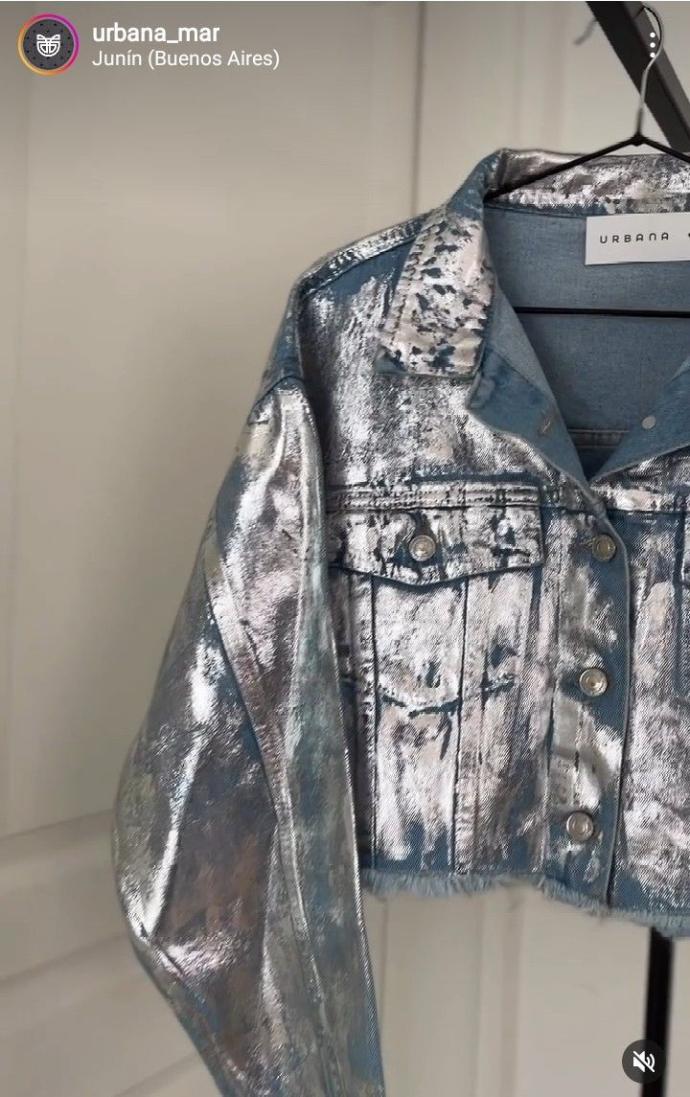
Airbrush foil application is generally used as a final finishing step on completed garments — that is, on pieces that have already been sewn and are ready to wear. Its key difference from standard stamping methods is that the adhesive used for transfer is thinned from its solid form into a consistency that can be sprayed through an airbrush. This lets the adhesive be applied directly to the product with a spray gun or airbrush, instead of a brush or die.
This is a somewhat more "hand-crafted" technique. The biggest factor determining the outcome isn't the precision of a standard stamping machine — it's the skill and experience of the person applying it.
Step-by-Step Application
1. Transferring the Adhesive onto the Product
The adhesive paste (thinned to a sprayable consistency) is applied to the area to be foiled using a spray gun or airbrush. There's one rule to keep in mind above all else at this stage: even, adequate coverage. How evenly the paste spreads across the surface directly determines how well the foil will adhere afterward.
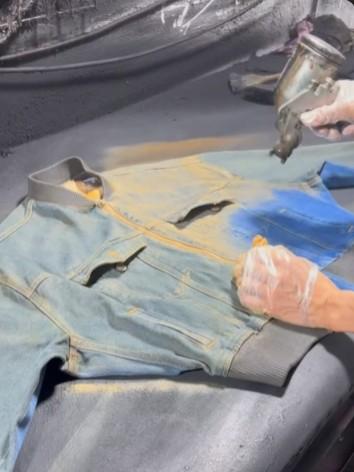
If you're working on fabric, make sure the paste penetrates properly into the inner sections of grain lines, nap, or folded areas — miss these details and you'll end up with an uneven print.
Practical tip: Placing form-fitted internal molds inside the garment before spraying makes the process easier and noticeably improves the result.
2. Fixing (Drying)
Products with the adhesive applied are fixed and dried in ovens at 140°C. This is not a step to rush or skip — after fixing, always check the adhesive-coated surface (where the foil will transfer) for any cracks or raised spots. These kinds of surface defects cause peeling in specific areas after washing and lower the wash-fastness rating — in other words, this is exactly where the quality of the final product is decided.
3. Pressing
Once fixing is complete, the product is ready for foil transfer. Press parameters are as follows:
Press Temperature
150–160°C
Press Pressure
5–6 bar
Contact Time
- Flatbed press: 8–10 sec
- Rotary press: 3–5 m/min
4. Peeling the Carrier Film
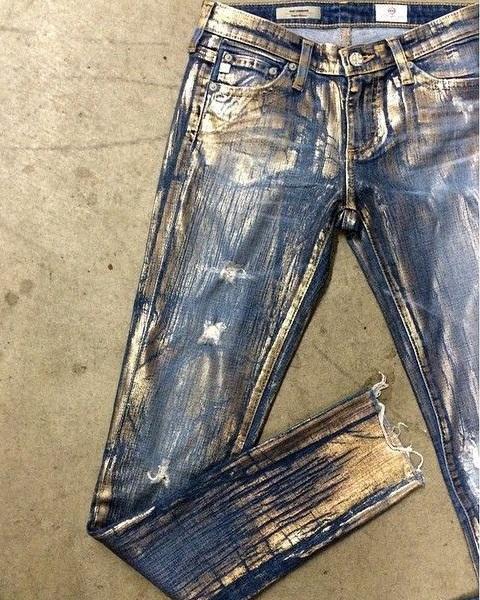
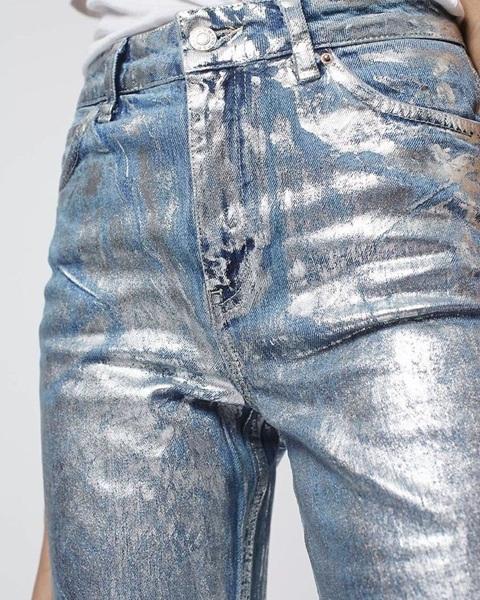
The last step is small but has a direct effect on the outcome: you can peel the carrier film right after pressing, or let it cool for a while first. If you wait before peeling the film, the foil reaches maximum gloss. It pays not to rush this step.
Summary: Key Points to Watch
- Adhesive paste must be spread evenly and adequately across the product
- Always check that the paste penetrates the fabric's grain/nap/fold structure
- Using properly shaped internal molds improves the result
- Fixing: 140°C
- Post-fixing check for cracks/raised spots is essential
- Pressing: 150–160°C, 5–6 bar, flatbed 8–10 sec / rotary 3–5 m/min
- Letting the carrier film sit before peeling increases gloss
If you have questions about this technique or a specific application scenario, the UES Varak team is happy to help Contact page you can reach out.